Select picture to go to page or topic, see a full size image of photo or video.
Train Scenery Mountains, Ground, Water and Rocks
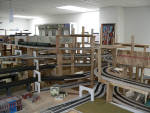
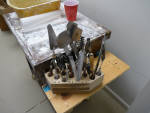
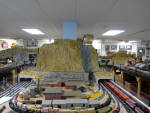
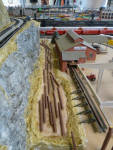
I begin with wood 1x2, 1x4 & tunnel portals outlining outer portions of mountain.
Close up look.
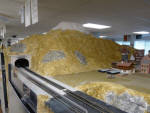
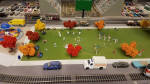
I use Woodland Scenics Turf to get 3 dimensional look.
Ground cover:
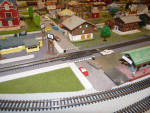
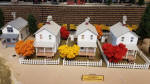
Grass & sidewalks made from matte board.
ABOUT THIS SECTION:
Below is a step by step description of the mountain project.
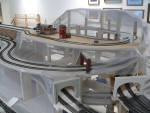
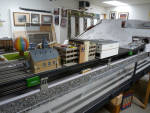
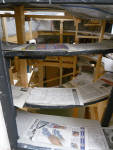
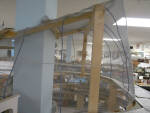
Build frame of wire and screen mesh
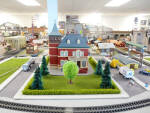
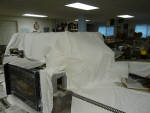
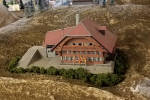
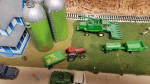
Move structures that are close to mountains:
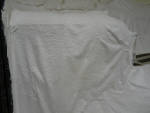
Cover track near and inside mountains:
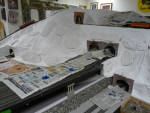
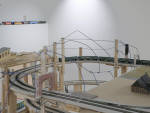
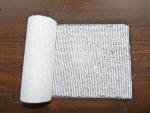
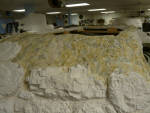
Place plaster gauze on wire mesh & let dry:
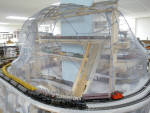
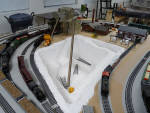
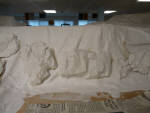
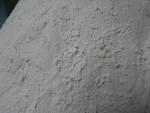
Paint loose plaster mixture over gauze and make removable cutout mountain tops - looks like witches' hats:
I then decided on the type of surface (rock molds, rock texture, grass/dirt, snow) and do one of following:
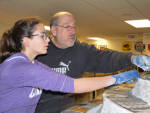
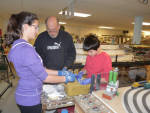
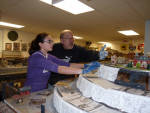
I had help getting started with the plaster gauze phase from Sydney and Brendan.
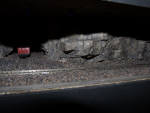
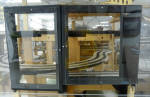
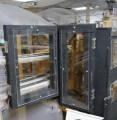
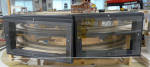
Build portholes to make it easy to see in hidden portions of the mountains:

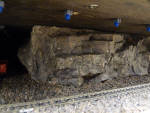
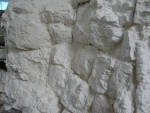
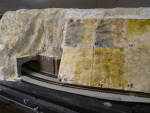
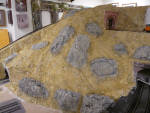
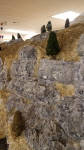
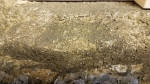
Making & Placing Rocks:
Texture:
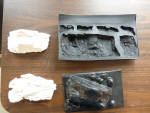
Place molds on vertical & hilly subalpine mountainsides using Liquid Nails.
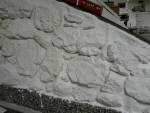
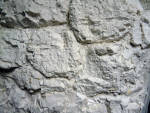
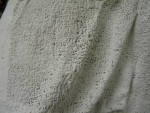
Smooth:
Stipple:
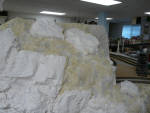
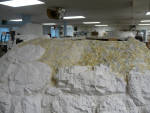
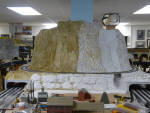
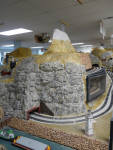


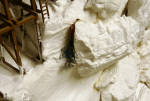
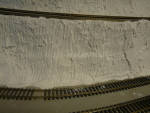
Peaks are removable so I can gain access to harder to reach areas. The snow portion is just plain plaster brushed horizontally to simulate a windswept look.
The vertical mine took on a more subdued look.
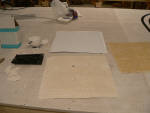
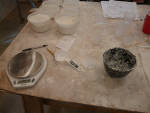
Created test panels to judge how stain would take & results of multiple layers & spotted stain.
Initial layers & spotting resulted in a fairly washed out look.
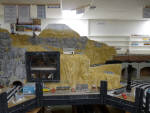
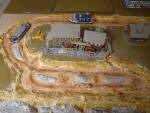
Ground level (Earth) was done first leaving rock outcroppings for later & a slightly different process.
Layers of earth & rock tone allowed for a buildup & more “earthy” look.
I could only reach one side at a time.
Finished look.
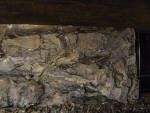
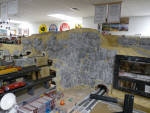
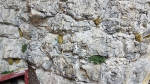
Individual rock outcroppings were then done.
Some areas were mostly rock.
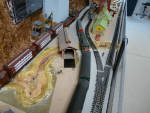
I went for the muddy waters look - not to be confused with the blues singer.
After coloring, I poured in layers of Woodland Scenics Realistic Water.
Some areas had rocks in the waterways. You have to wonder how the boats get through.
These logs were placed into a second layer of Realistic Water before drying.
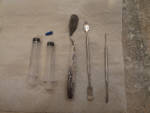
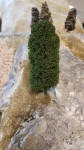
Many of the trees are purchased, but several hundred are handmade and here is how:
Make tree trunk using a dowel rod, barbecue skewer or chopstick. Cut to size based on scale & sharpen one end.
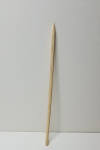

Dent surface to simulate bark. Paint bark color. Insert small nail after drilling hole at bottom.
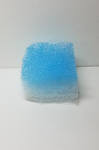
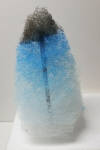
Using furnace or fish tank filter material cut square according to scale. Bore hole in center.
Stretch filter material over pointed end & pull down close to bottom. Glue at top & bottom. Glue extra small piece on top. Cut to shape.
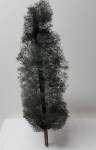
Paint using spray paint.
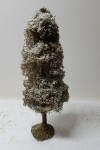
Spray unscented extreme hair spray. Sprinkle train ground cover through sifter. Spray again. Let dry.
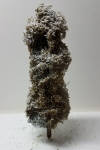
If you want snow on trees, spray hair spray. Sprinkle model train snow to desired density.
Method 1 - Place by simply sticking nail/pin in train base surface.
Method 2 - If placing on impenetrable surface such as plaster or other nonporous surface do following:
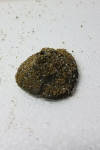
Use non hardening plastic clay, create candy kiss shaped lump. Cover in hair spray. Sprinkle with ground cover. Wait for it to dry. Spray again.
Place mold on surface and push in to fit almost any surface type or angle. Place tree in mold.
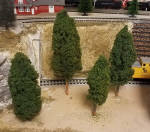
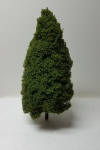
Example of Purchased trees.
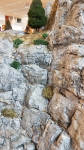
Foliage is used as shrubs, for growth in rock cracks & to hide uneven placement of mountain structures.
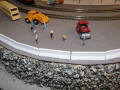
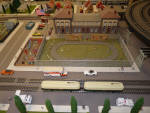
Ground cover can be made up of purchased items such as ballast. grasses in sprinkle form and coated paper mats as well as home made. I use both, but prefer home made including sidewalks. Here are some examples.
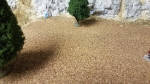
Combination of paper mat and purchased sprinkle ground cover.
Finely sifted decomposed granite.
Sprinkled grasses on mountain side.
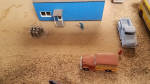
Sand for yard & sifted dirt for roadway.