Select picture to go to page or topic, see a full size image of photo or video.
Train Scenery Mountains, Ground, Water and Rocks
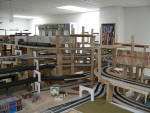

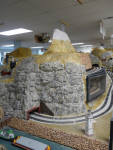
I begin with wood 1x2, 1x4 & tunnel portals outlining outer portions of mountain.
Close up look.
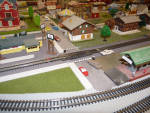
I use Woodland Scenics Turf to get that 3 dimensional look.
Apply ground cover:
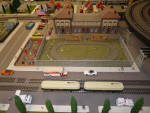
More grass and sidewalks.
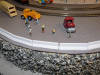
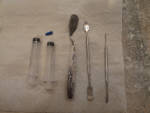
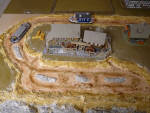
The Jersey barrier is 2 pieces of shaped balsa wood filed, glued & painted.
The rock wall is fish bowl base glued with Liquid Nails onto curved matte board.
<<<
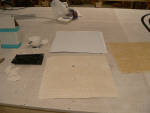
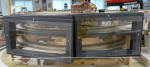
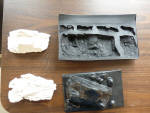
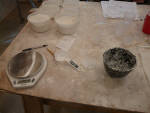
Top - center original sheet of bricks
Right - mold made out of latex rubber
Bottom center - plaster cast of bricks
ABOUT THIS SECTION:
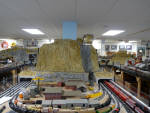
Below is a step by step description of the mountain project.
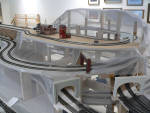
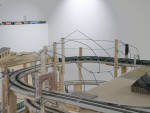
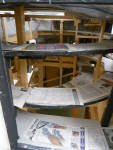
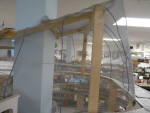
Build frame of wire and screen mesh:
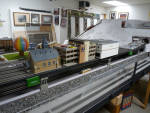
Move structures that are close to mountains:
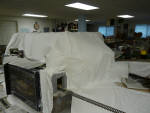
Cover track near and inside mountains:

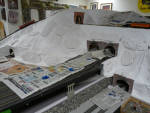
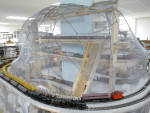
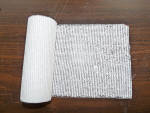
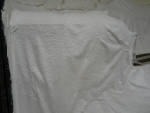
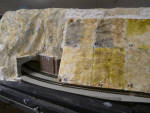
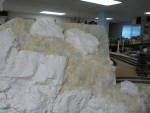
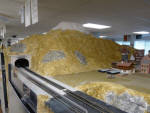
Place plaster gauze on wire mesh and let dry:
I use Pop Art Plaster of Paris. Cheaper by case loads from an art supply wholesaler and ACTIVA Rigid Wrap Plaster Cloth, 5 pounds from Amazon.com.
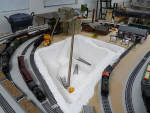
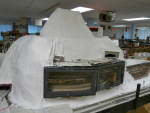
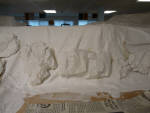
Paint loose plaster mixture over gauze and make r emovable cutout mountain tops - looks like witches hats:
Then I decided on the type of surface (rock molds, rock texture, grass/dirt, snow) and do one of following:
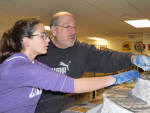
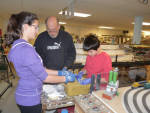
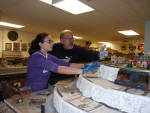
I had help getting started with the plaster gauze phase from Sydney and Brendan:

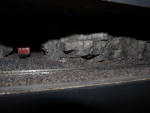
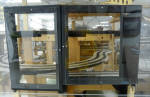
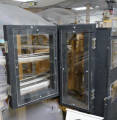
Build portholes to make it easy to see in hidden portions of the mountains:
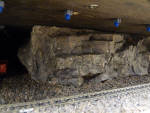
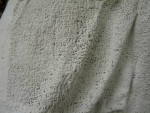
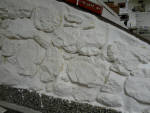
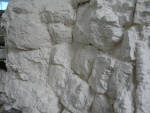
Rocks:
Textured:
Place molds on vertical & hilly subalpine mountainsides using Liquid Nails.

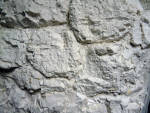

Smooth:

Stipple:

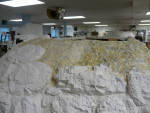
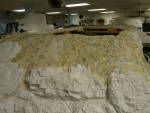

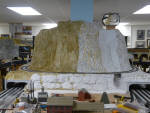


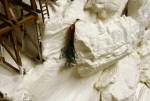
Peaks are removable so I can gain access to harder to reach areas. The snow portion is just plain plaster brushed horizontally to simulate a windswept look.
The vertical mine took on a more subdued look.
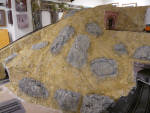
Staining the mountains and rocks required many steps and layers of stains.
Test panels had to be created to judge how stain would take & the result of multiple layers of spotted stain.
Initial layers and spotting resulted in a fairly washed out look.
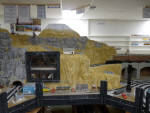
Ground level (Earth) was done first leaving rock outcroppings for later & a slightly different process.
Layers of earth and rock tone allowed for a buildup and a more “earthy” look.
I could only reach one side at a time.
Finished look.
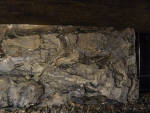
Individual rock outcroppings were then done.
Some areas were mostly rock.
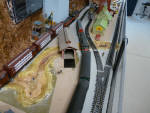
I went for the muddy waters look - not to be confused with the blues singer.
After coloring, I poured in layers of Woodland Scenics Realistic Water.
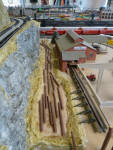
Some areas had rocks in the waterways.. You have to wonder how the boats get through.
These logs were placed into a second layer of Realistic Water before drying.